Experience Madera County’s Rich Heritage
Preserving Madera County’s History Since 1974

The Madera Museum has the "Gold" First place as Best Museum in central California in the 2025 contest. Also we won "Gold" in the Best place to volunteer category.
Thank you to all of you that voted.

We also won "Bronze" in the Best Attraction Category.
Congradulations.
Visit our Historic Museum in California
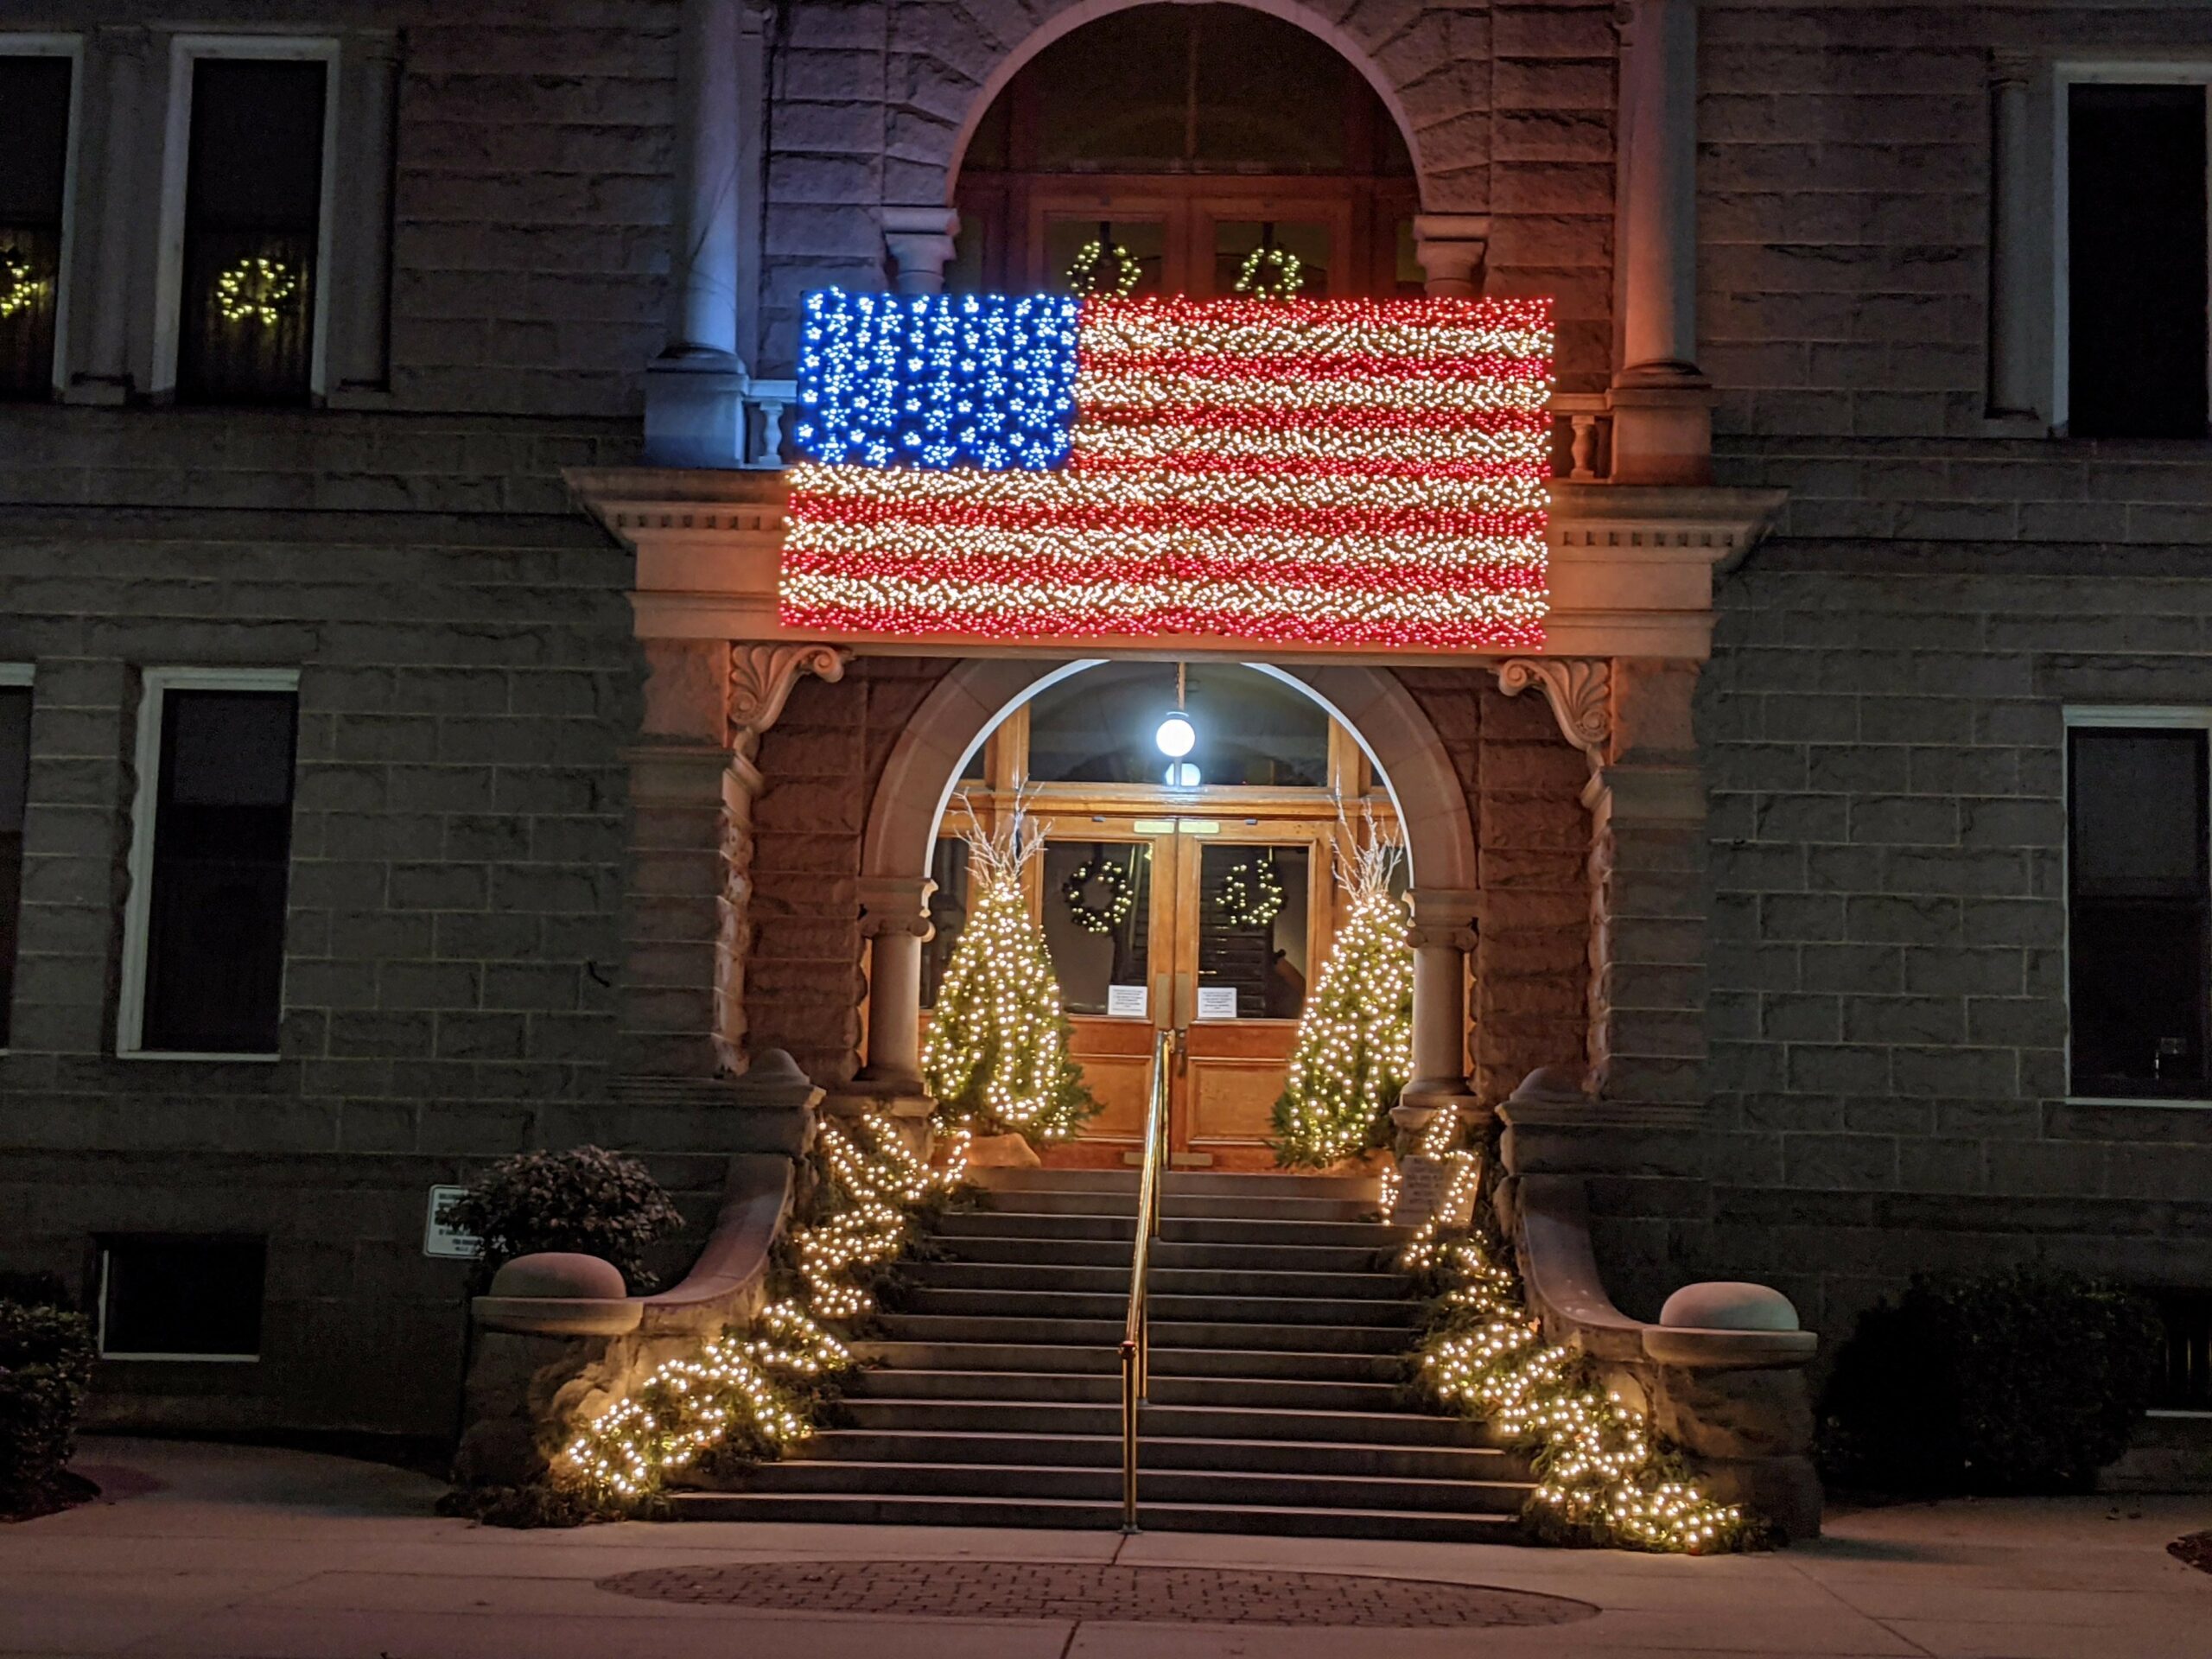
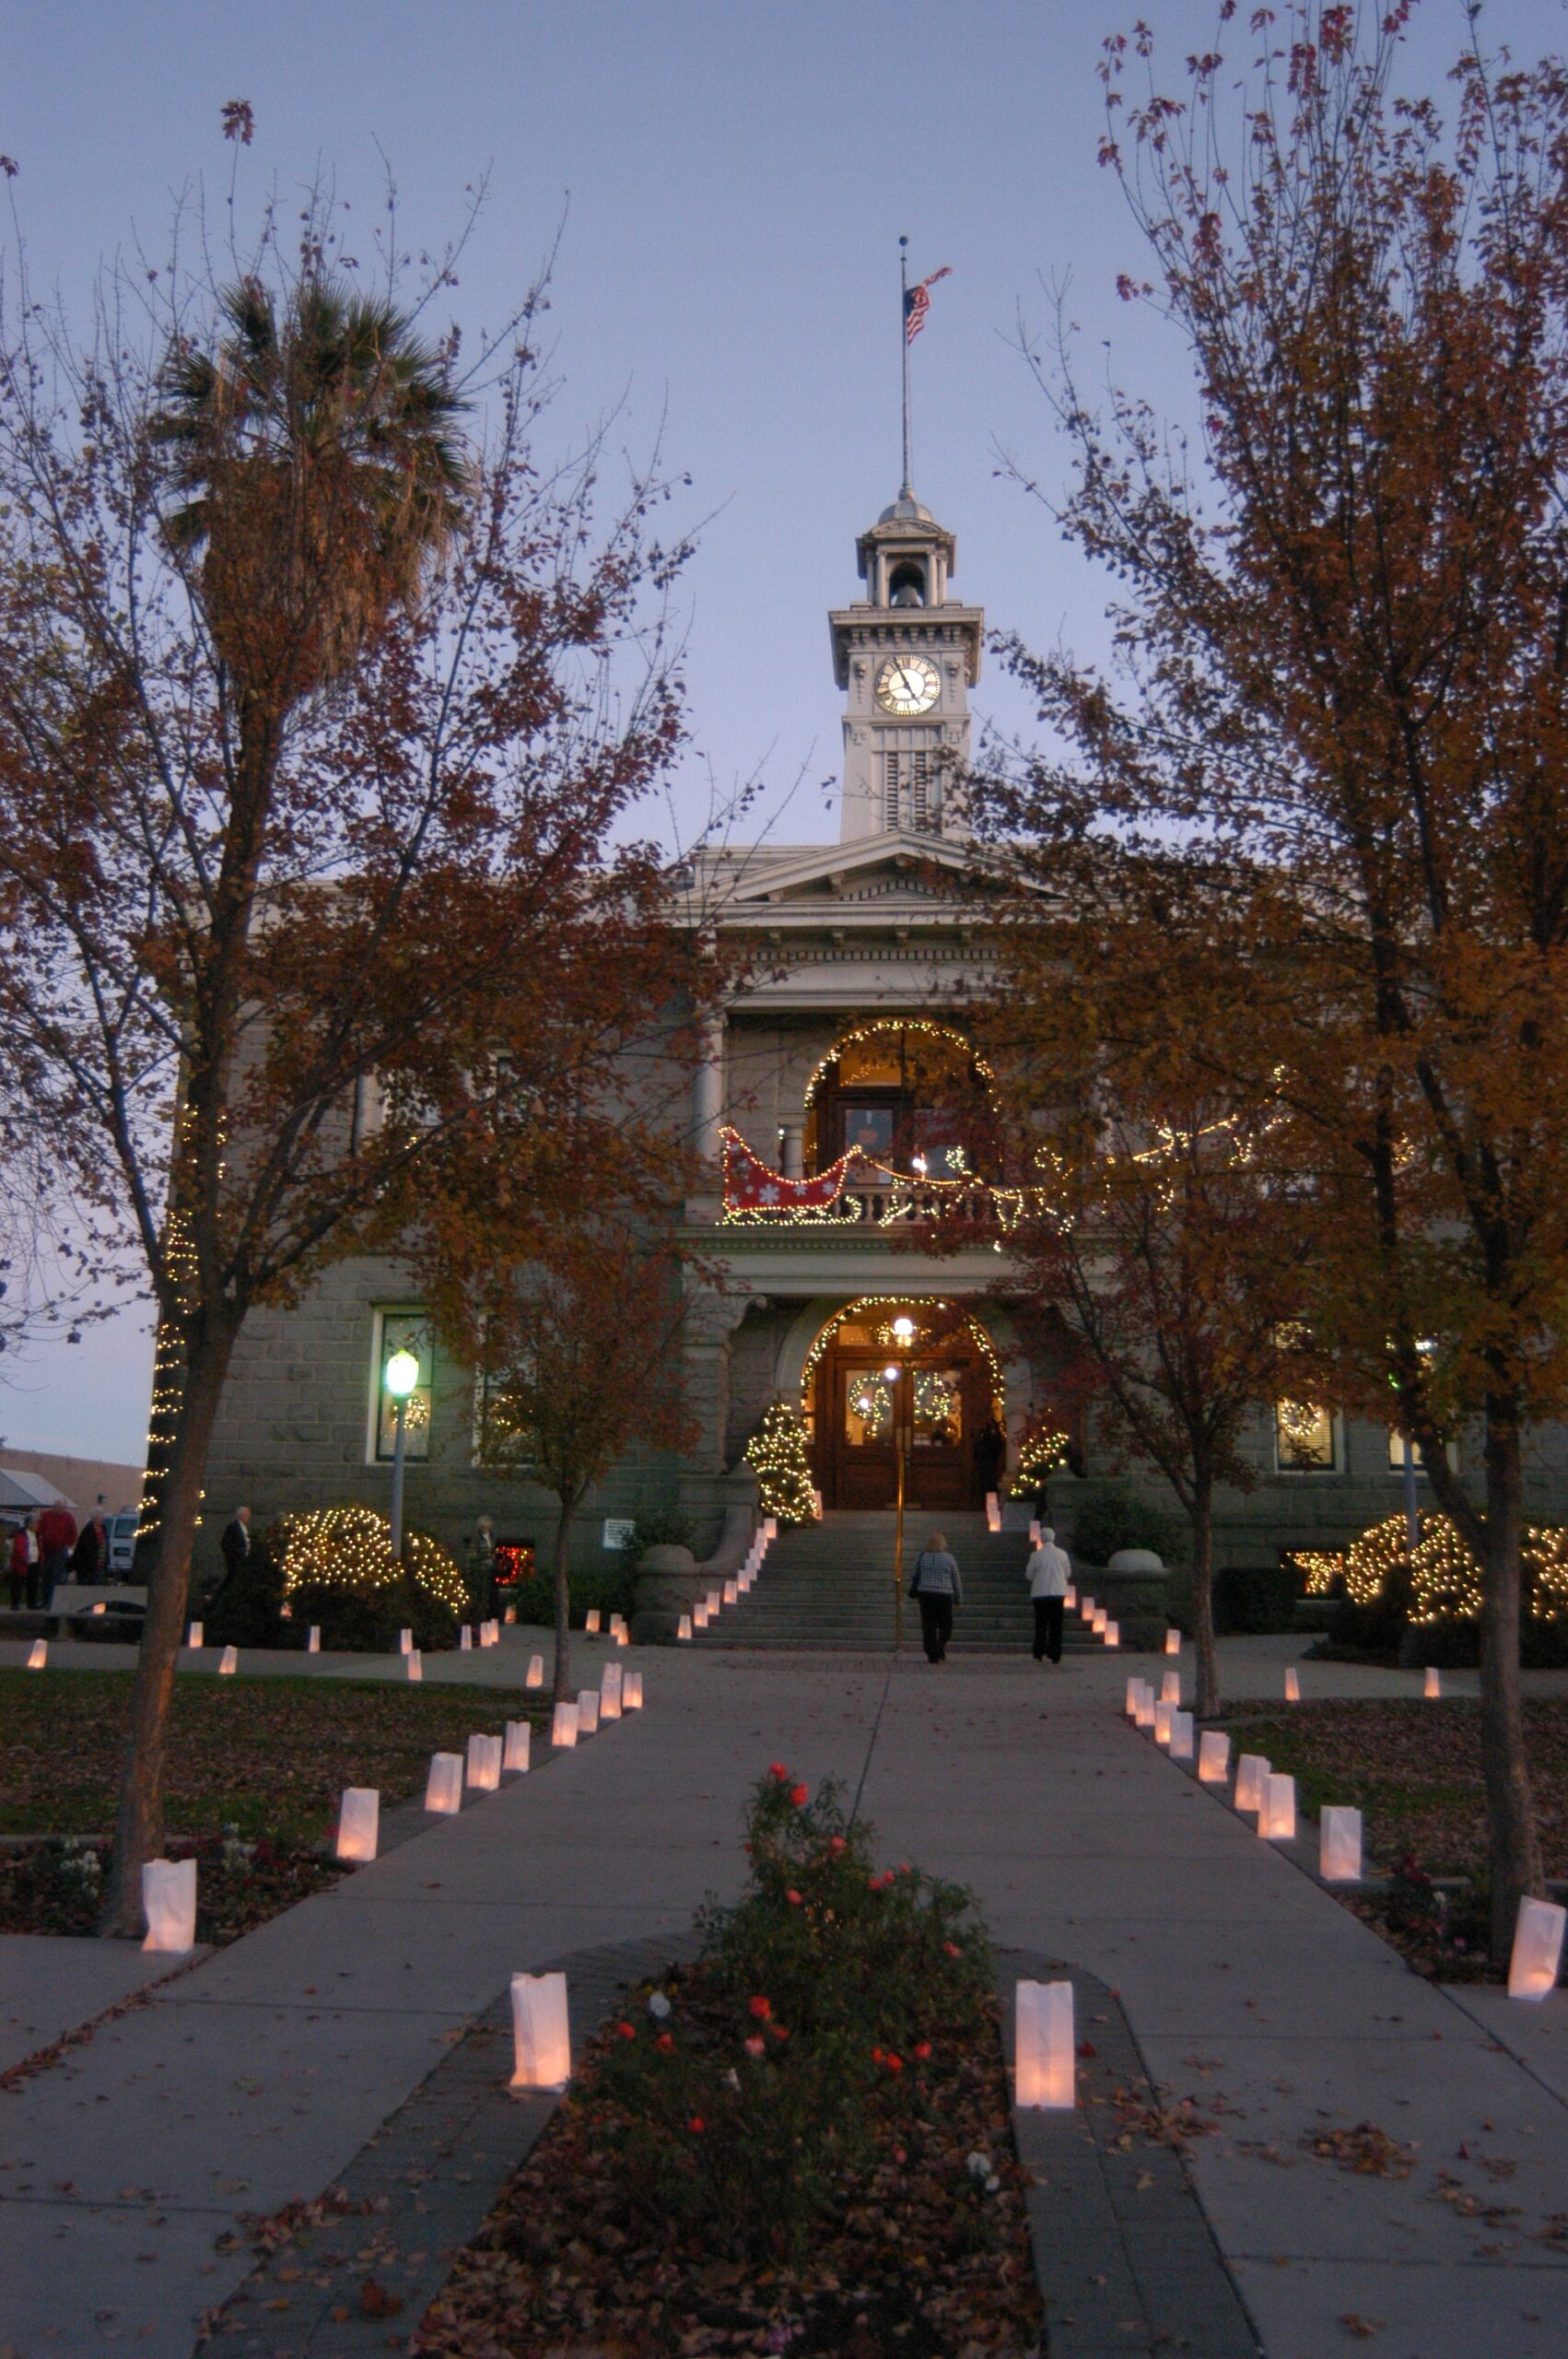
Step into our historic museum in California, the Madera County Museum, a captivating destination at the gateway to Yosemite. Housed in the building that originally served as the Madera County Courthouse since 1900, our museum offers a remarkable glimpse into the rich and diverse history of Madera County. This architectural gem showcases three floors of engaging exhibits that spotlight the county’s heritage and its pioneering families.
The Madera County Museum, converted from the original Madera County Courthouse, opened for local residents and visitors on September 28th, 1974. This historic building, constructed in 1900 from locally quarried granite, served as the county’s courthouse and government offices until 1953, when operations relocated due to growth.
Today, the museum is lovingly maintained by dedicated volunteers from the Madera County Historical Society, who ensure it remains a vibrant hub of local culture and history.
Discover Our Exhibits
As you wander through our storied halls, you’ll encounter themed museum rooms that tell the tales of our past, including:
Delve into the military history that has shaped our community.
Explore the significance of water transport in Madera’s development.
Learn about the farming practices that fuel our economy.
Step back in time to experience the courtroom as it was once used.
Thank you for visiting, and we look forward to sharing our history with you.
Learn more about our historic museum.